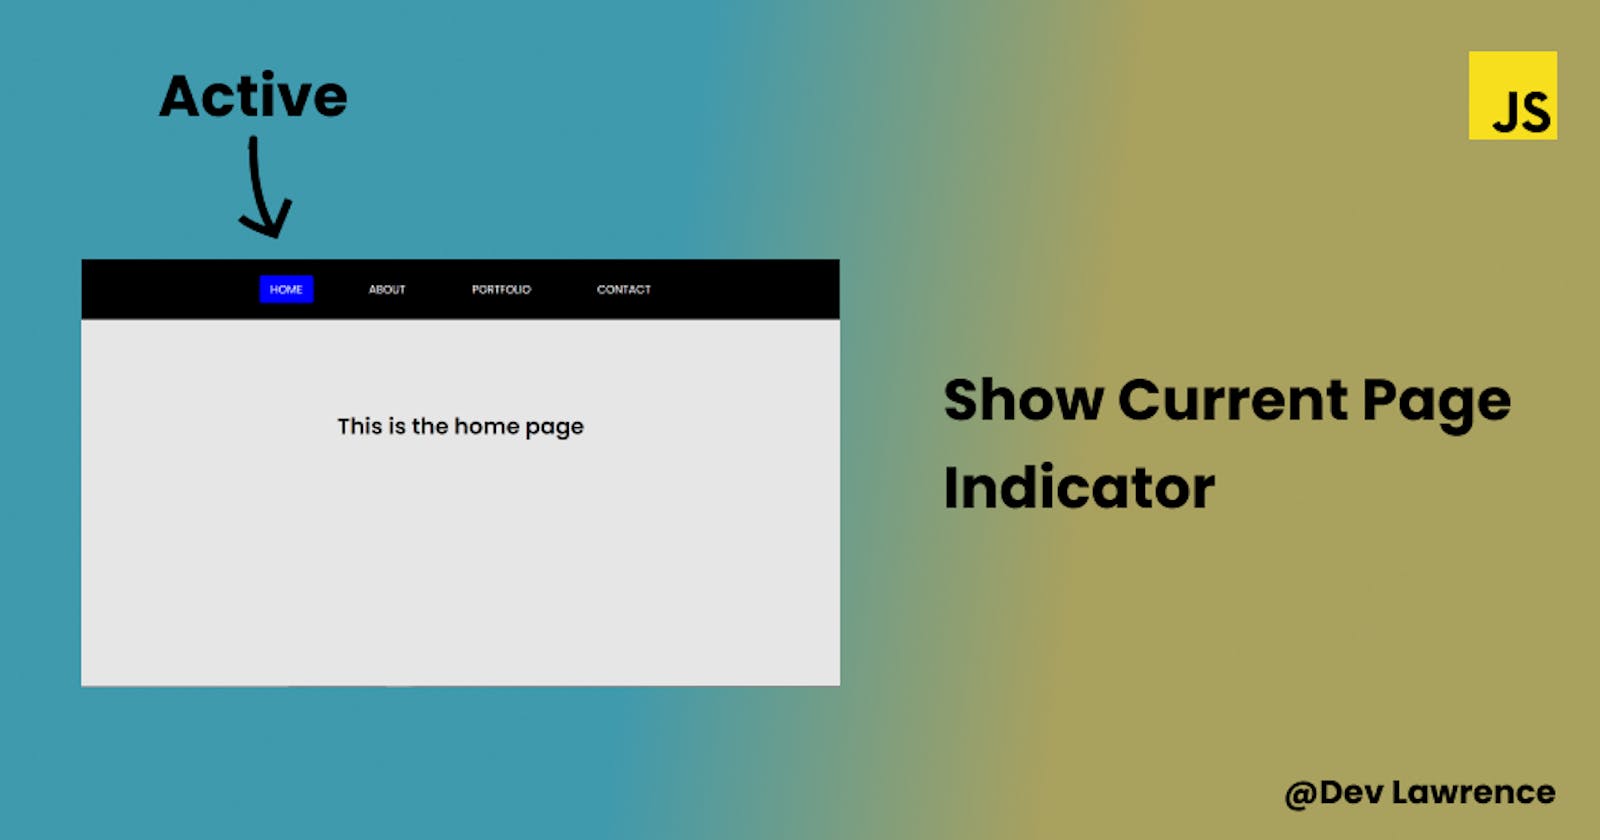
It is essential that users should know the page they are currently viewing on your website.
This article will focus on making an active link indicator to show which page a user is currently viewing on a multi-page website using HTML, CSS, and vanilla JavaScript.
HTML CODE 👇🏾
<!DOCTYPE html>
<html lang="en">
  <head>
    <meta charset="UTF-8" />
    <meta http-equiv="X-UA-Compatible" content="IE=edge" />
    <meta name="viewport" content="width=device-width, initial-scale=1.0" />
    <link rel="stylesheet" href="./css/style.css" />
    <title>Change active nav link</title>
    <script defer src="./script.js"></script>
  </head>

  <body>
    <ul class="nav">
      <a class="active" href="index.html">home</a>
      <a href="about.html">about</a>
      <a href="portfolio.html">portfolio</a>
      <a href="contact.html">contact</a>
    </ul>

    <div class="text">
      <h1>This is the home page</h1>
    </div>
  </body>
</html>
From the code above, each of the HTML pages (example: index.html, about.html) are all the same except the “text” class which has different texts for each individual page. it is also showing “This is the home page” because we are on the “index.html” page. Another thing to note from the HTML code is that there is a class called “active” and is applied to only the “index.html” page. The reason is that when users visit your website, that “active” class will be applied to the “home” link by default before it can then be changed dynamically with JavaScript.
Let’s move on to the CSS code
CSS CODE 👇🏾
@import url('https://fonts.googleapis.com/css2?family=Poppins:wght@300;400;500;600&display=swap');

* {
  margin: 0;
  padding: 0;
  box-sizing: border-box;
}

body {
  font-family: 'Poppins', sans-serif;
  background-color: #e6e6e6;
  height: 100vh;
}

.nav {
  padding: 1.5rem;
  display: flex;
  align-items: center;
  justify-content: center;
  background-color: #000;
}

.nav a {
  color: #fff;
  text-decoration: none;
  text-transform: uppercase;
  margin: 0 2rem;
  padding: 0.5rem 1rem;
  border-radius: 0.2rem;
}

/*===== Important ======*/
a.active {
  color: white;
  background-color: blue;
}

.text {
  display: flex;
  align-items: center;
  justify-content: center;
  height: 50%;
}
The CSS code above is just giving some basic styles to make it look good. The only important thing you must note is the class of “active” that is applied to each of the individual links (”a”) when you click on any of them. The reason is that we are going to use JavaScript to apply that “active” class to the links (”a”) to see the page that we are currently viewing.
JAVASCRIPT CODE 👇🏾
const navLinks = document.querySelectorAll('.nav a');
const activePage = window.location.href;

navLinks.forEach((link) => {
  if (link.href === activePage) {
    link.classList.add('active');
  }
});
From the JavaScript code above;
We, first of all, got all the “a” tags using the “document.querySelectorAll”
Then we got the location of each of the links using the window.location.href . You can read more about window.location from here 👇🏾 %[developer.mozilla.org/en-US/docs/Web/API/Wi..
Next, we then created a forEach loop and forEach loop is basically a method that executes a provided function once for each array element. Here is a link to read more about it 👇🏾 developer.mozilla.org/en-US/docs/Web/JavaSc..
Next, we then created an if statement which says that if the href of any link that is being clicked matches the href of the window (which in this case is the variable of activePage) then that active class will be added to that link…Here is another way of writing the same code 👇🏾
const navLinks = document.querySelectorAll('.nav a');

navLinks.forEach((link) => {
  if (link.href === window.location.href) {
    link.classList.add('active');
  }
});
Also if you want to play around with the code to understand it better, Here is a link to the JS code 👇🏾 %[codepen.io/lawrence-stixx/pen/OJQdWwP]
CONCLUSION
Congrats on getting to the end of this article.🎉 I really hope this article helped you.
